In this post, let us learn how to create a routing in Navision, Dynamics NAV, or Business Central applications.
Table of Contents
What is a Routing?
A routing is a master data setup that defines the steps and resources needed to make a product.
When a production order is created for that product, the routing controls how the operations are scheduled and shown in the Prod. Order Routing window.
A routing in Microsoft Dynamics NAV (and Business Central) defines the process steps and resources needed to produce an item.
Prerequisites
Before you create a routing, make sure:
- Item cards are already created (see Create an Item Card – Setup Guide).
- Work centers or production resources are set up (see Set up a Work Center – Setup Guide).
You have all details about:
- The produced items
- Production resources
- Operation details
- Process times
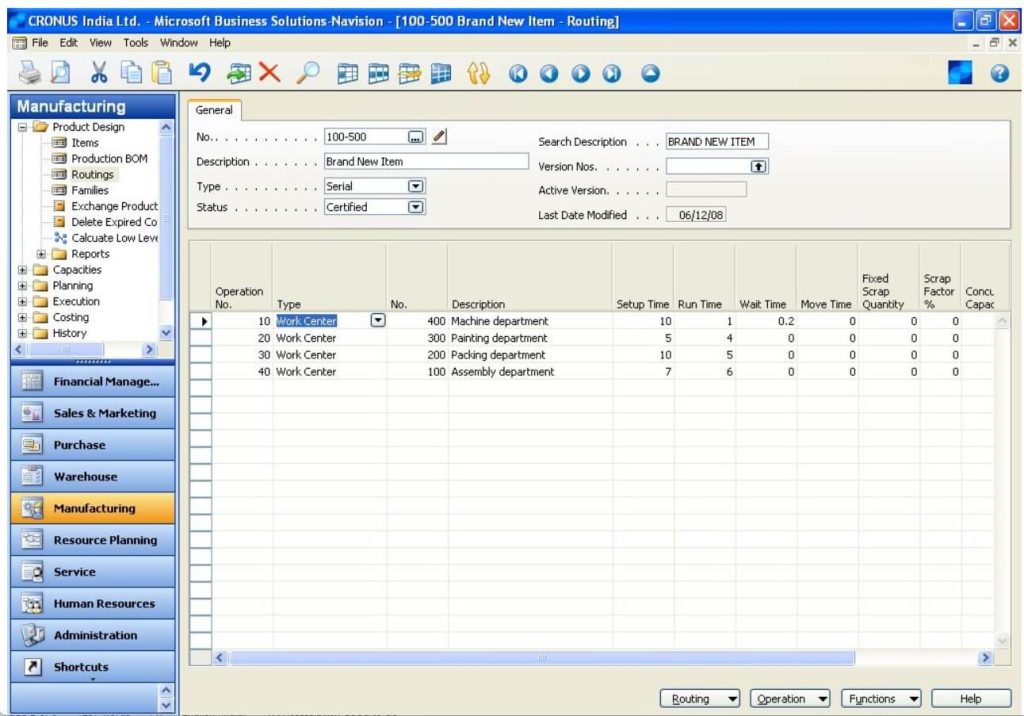
How to Create a Routing Header
- Open the Routing list page and select New to create a new routing card.
- In the No. field, give the routing a number (for example, based on the process or main item).
- In the Description field, enter a name for the routing (for example, the process or item name).
- In the Type field, choose Serial (use Parallel only for advanced cases).
- The Status field should be New or Under Development while editing.
Set it to Certified once the routing is complete and ready to use.
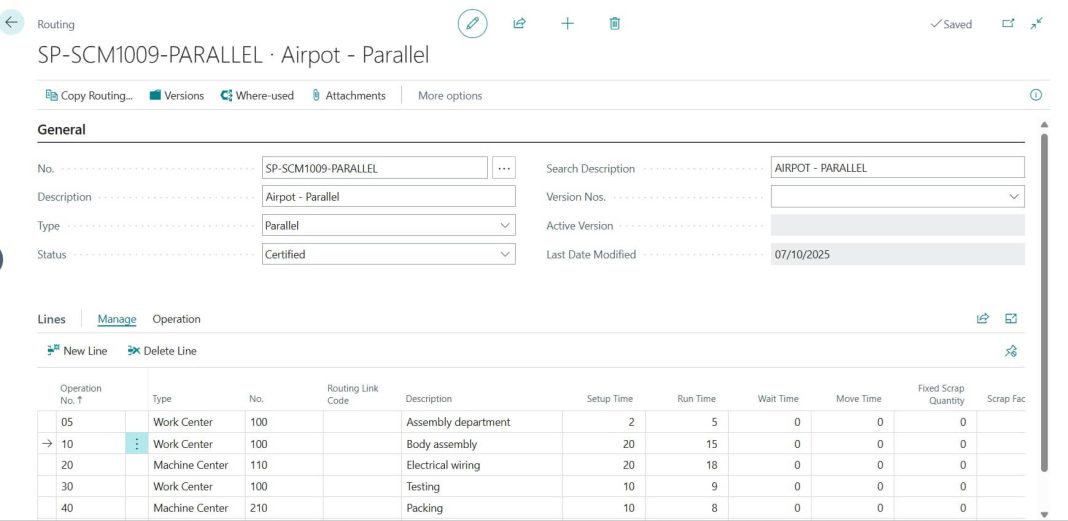
How to Fill in Routing Lines
You can either copy an existing routing (for BC It will display directly on header/ for NAV: Functions -> Copy Routing) or create it manually:
- In the Operation No. field, enter the first operation number (for example, 10).
- In the Type field, select the type of resource (for example, Work Center).
- In the No. field, choose the specific resource or type it directly.
- In the Routing Link Code field, add a link code to connect the operation to a component (see Create Routing Links – Use Guide).
Note: Routing links help with automatic consumption posting (flushing) and make it easier to track operation data in the production journal (see Register Consumption and Output – Use Guide 5).
- In the Setup Time and Run Time fields, enter the time required for the operation.
- Setup Time is per production order.
- Run Time is per item produced.
- In the Concurrent Capacities field, specify how many resources are used for the operation (for example, 2 workers for packing will cut the run time in half).
- Add lines for all the steps needed to produce the item.
- Certify the routing once completed.
- Attach the new routing to the related Item Card (see Item Setup Guide).
Don’t forget to recalculate the item’s standard cost.
Best Practices and Tips
- Avoid using routing versions unless absolutely necessary.
- Use the same unit of measure for all process times.
- Avoid using send ahead unless you really need it.
FAQ : Routing Process / Setup in NAV / Business Central
A routing defines the sequence of operations and resources needed to produce an item in Dynamics NAV or Business Central.
Yes. You can copy routing lines from another routing using the Copy Routing function.
Setup Time: Time to prepare for production (per order).
Run Time: Time taken to produce one item.
Certify a routing only after all steps and data are complete and correct – this activates it for production use.
")