The Chart of Accounts (COA) is the backbone of any financial system. In Microsoft Dynamics 365 Business Central, the COA defines how every financial transaction is recorded, grouped, and reported.
If you are setting up Business Central for the first time or want to optimize your existing COA, this step-by-step guide will walk you through the process in simple, practical steps.
Table of Contents
What is a Chart of Accounts in Business Central?
Think of the Chart of Accounts (COA) as your company’s financial map.
- Each account is like a “box” where transactions are stored.
- Example: Sales revenue goes into the Sales account, rent payments go into the Rent Expense account.
- At the end of the month, Business Central adds everything up and gives you your financial statements.
Accessing the Chart of Accounts
Following are the steps to access Chart of Accounts
- Open Business Central.
- In the search bar, type “Chart of Accounts”.
- Click the result, and you’ll see a list of all accounts already available.
Pro Tip: Business Central usually comes with a standard COA template, but you can edit or create your own based on your company’s needs.
Step-by-Step Setup of Chart of Accounts
Step 1: Create a New G/L Account
- Click New.
- Fill in the fields:
- No. -> Unique account number (e.g., 18100 for Cash).
- Name -> Account name (e.g., “Cash in Hand”).
- Income/Balance -> Choose whether it’s a Profit & Loss (P&L) or Balance Sheet account.
- Account Category -> Asset, Liability, Income, or Expense.
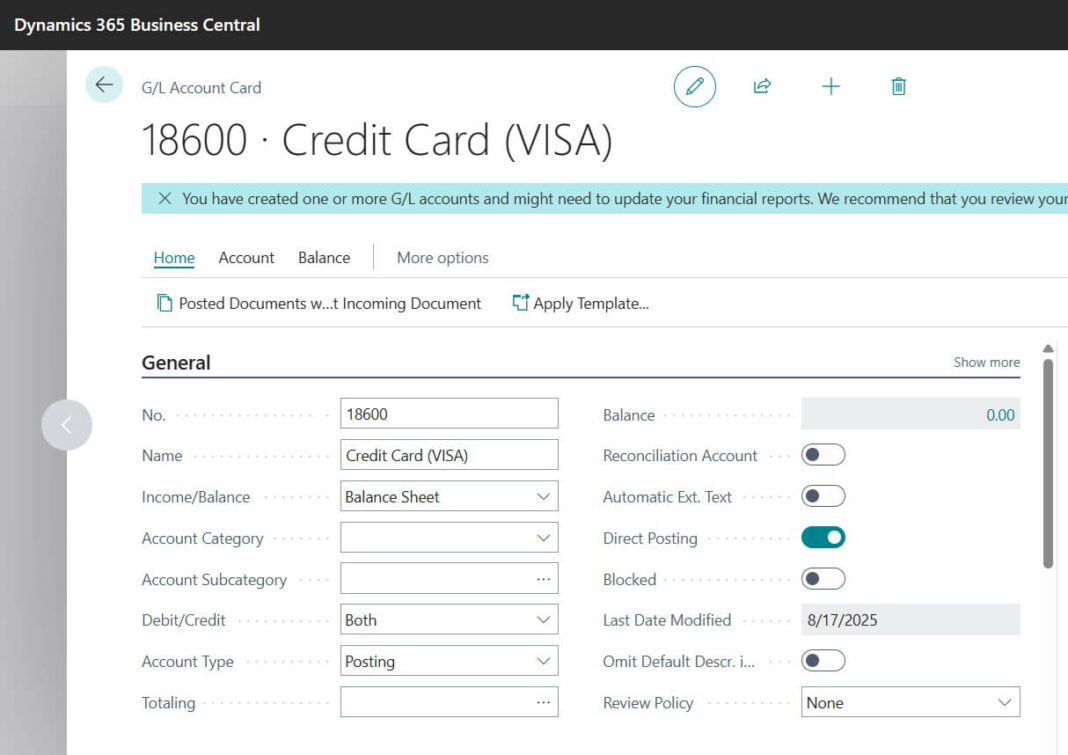
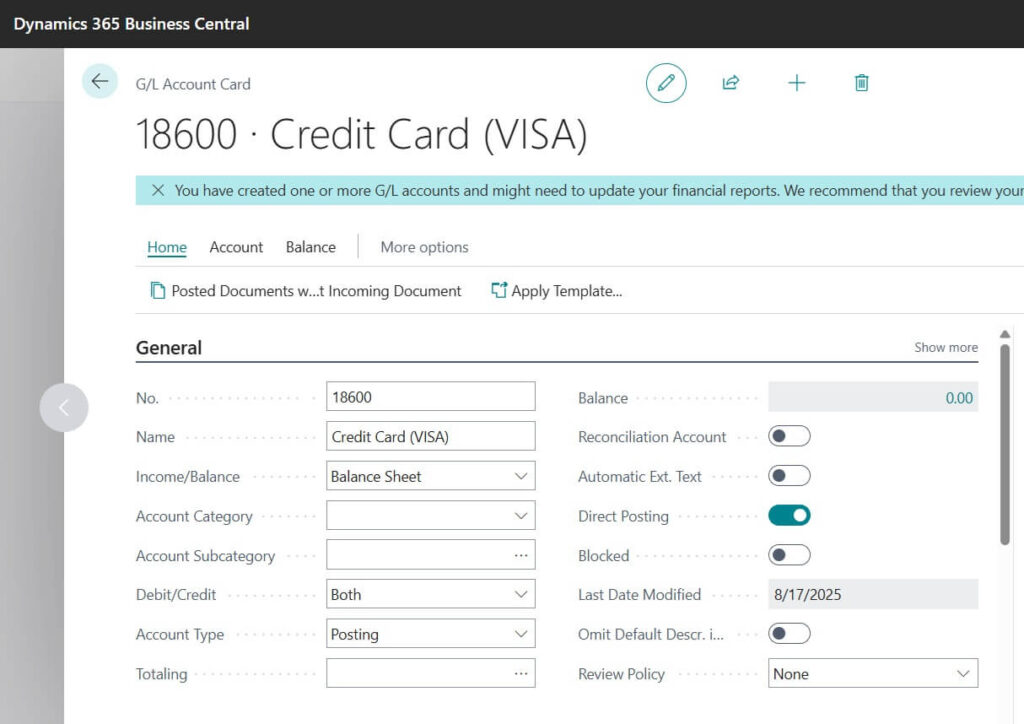
- Example: Considered creating new Credit Card GL Account for Retail POS Sales Collection
No.: 18600
Name: Credit Card ( VISA ) - Income/Balance: Balance Sheet
- Asset category: Assets
For finalizing GL Account Creation required to indent the newly created GL Account to Chart Of Account. For doing that please proceed and perform below step
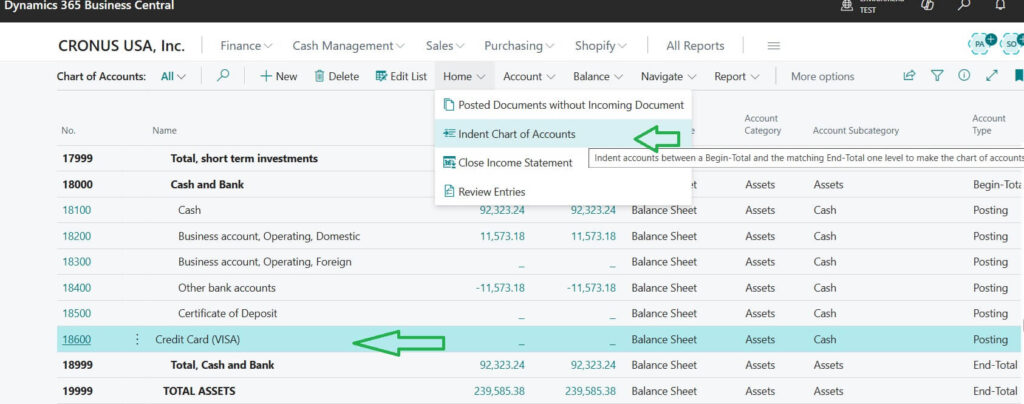
Once you clicked on “Indent Chart of Accounts” button then it will give one popup message with following content
This function updates the indentation of all the G/L accounts in the chart of accounts. All accounts between a Begin-Total and the matching End-Total are indented one level. The Totaling for each End-total is also updated.
Do you want to indent the chart of accounts?
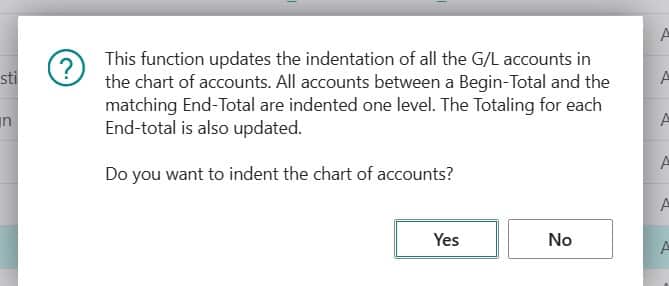
Choose “Yes” option to indent with COA.
After this step it will clearly blend with existing Chart of Accounts list. Please find the following image after this action.

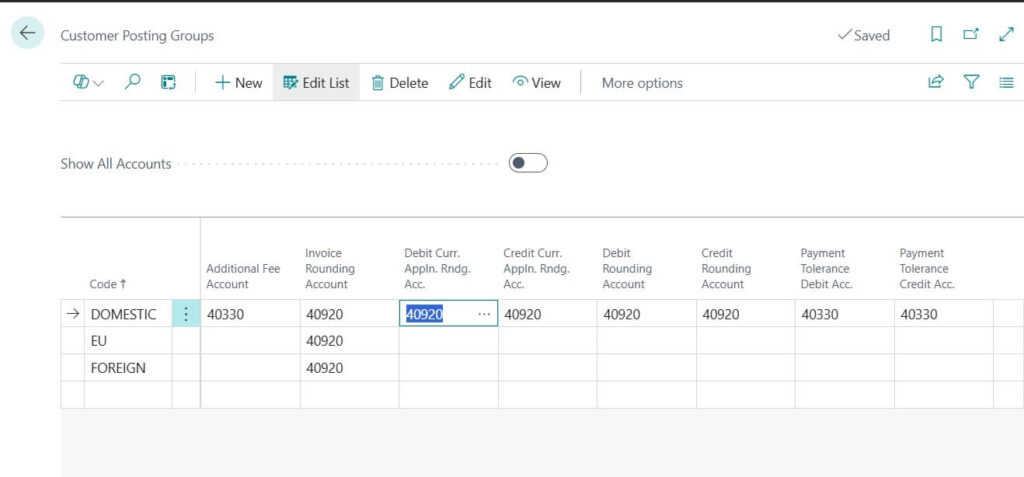
Step 2: Assign Posting Groups
Posting Groups tell Business Central where to post transactions.
Example: Sales Revenue -> Linked to Customer Posting Group.
Vendor Expenses -> Linked to Vendor Posting Group.

Step 3: Use Subcategories (Optional, but Recommended)
Helps with better financial reporting.
Example:
Assets -> Current Assets -> Cash and Bank
Liabilities -> Current Liabilities -> Trade Payables
Step 4: Block or Unblock Accounts
If an account is no longer needed -> set Blocked = Yes.
This keeps history safe but prevents new entries.
Example: Old GST account blocked after new GST rules.

Step 5: Organize the COA
Use a logical numbering system:
1000–1999 -> Assets
2000–2999 -> Liabilities
3000–3999 -> Equity
4000–4999 -> Income
5000–5999 -> Expenses
This makes reports cleaner and easier for auditors, accountants, and management.
For getting more idea how to organize COA and its structure visit Chart of Accounts in Business Central / NAV
Best Practices for COA in Business Central
Following are the best practices suggested by us.
- Keep numbering logical and consistent.
- Avoid creating too many accounts -> use Dimensions (like Department, Project, Location) instead.
- Always test new setups in a sandbox environment before applying in production.
Common Mistakes to Avoid | Creating BC GL Account in COA
Following are the common mistakes noticed while creating GL Accounts and using the same
- Deleting accounts (always block instead).
- Mixing personal and business transactions.
- Overcomplicating with 1000+ accounts. Keep it lean
Frequently Asked Questions (FAQs)
No, you should block it instead to preserve history.
Technically thousands, but best practice is 200 – 300 well-structured accounts.
Yes, using Configuration Packages (RapidStart) you can upload your COA directly from Excel.
Conclusion:
Setting up the Chart of Accounts in Business Central is one of the most important steps for a successful finance system. A well-structured COA ensures accurate reporting, easy audits, and smooth daily accounting operations.
With this guide, you now know how to create accounts, assign posting groups, block old accounts, and follow best practices.
Stay tuned to NavisionPlanet for more simple, step-by-step functional guides on Business Central.


 in Microsoft Dynamics 365 Business Central with this step-by-step guide. Simple instructions with screenshots and tips.)