

Quick Answer
In Business Central, you create users in the Microsoft 365 admin center, import them with Update Users from Microsoft 365, then control what they can do using permission sets. The best way to assign those permissions to many people at once is through security groups (linked to Microsoft Entra ID), which have replaced the older user groups. A user’s license type sets the ceiling on what they can do, no matter which permissions you give them.
Managing who can do what is one of the most important and most confusing jobs for a Business Central administrator. Give someone too little access and they can’t do their work; give them too much and you risk mistakes or security problems. The tools that control all of this are users, permission sets, and security groups.
In this guide, we’ll explain each of these in plain English, show how they fit together, and walk through how to add a user and assign the right permissions. We’ll also cover an important recent change: security groups have replaced the old user groups. Let’s start with the big picture.
Table of Contents
How Access Control Works in Business Central : The Big Picture
Three things decide what a person can do in Business Central, and they work together like layers.
The first layer is the license type. This is set in Microsoft 365 (Entra ID) and it puts a hard ceiling on what a user can ever do. For example, a Team Member license can never post transactions no matter what permissions you give them. So the license is the outer boundary.
The second layer is permission sets. Within the limits of the license, permission sets define the specific things a user can read, edit, or post. Business Central comes with many ready-made permission sets, and you can create your own.
The third layer is security groups. Rather than assigning permission sets to each person one by one, you group people by role (like “Sales” or “Warehouse”) and assign permissions to the whole group at once. Add someone to the group and they instantly get the right access.
💼 From 18 Years in the Field
The mistake I see most often is admins assigning permission sets to each user individually. It works for two or three people, but by the time you have twenty, it’s a nightmare to maintain and impossible to audit. Set up security groups by role from day one future you will be grateful.
Step 1 : Create the User in Microsoft 365
Business Central doesn’t store its own passwords — identity is handled by Microsoft Entra ID. So every user starts life in the Microsoft 365 admin center. There, an administrator goes to Users → Active users → Add a user, fills in the person’s name and sign-in details, and crucially assigns them a Business Central license. Without a valid license, the user can’t be brought into Business Central.
Step 2 : Import the User into Business Central
Once the user exists in Microsoft 365 with a license, you pull them into Business Central. Press Alt + Q, search for Users, and choose the Update Users from Microsoft 365 action. Business Central imports the user and automatically assigns starting permission sets based on their license type.
It’s good practice to run this update soon after adding someone in Microsoft 365. Keeping the user list current helps ensure people can always sign in, and it’s especially important if you’ve customized the permission sets tied to a license.
Step 3 : Understand the Permission Set Types
Before assigning permissions, it helps to know that not all permission sets are the same. Business Central has a few types, and the difference matters because some you can edit and some you can’t.
| Type | What It Is |
|---|---|
| System | Built in by Microsoft or by an app you installed, defined in code (AL). End users can’t create or edit these or the permissions inside them. |
| Extension | Added by an installed extension or ISV app from Marketplace. Also defined in code and not editable by end users. |
| User-Defined | Ones you create yourself — this is where you build custom permission sets for your business roles. Fully editable. |
A powerful trick is to build a single “parent” permission set for a role that contains several other permission sets. This is called nesting, and it lets you bundle everything an Accounts Receivable clerk needs, for example, into one tidy set you can assign in a single click.
Step 4 : Assign Permissions the Right Way (Security Groups)
You can assign permission sets directly to a single user on the user card, in the User Permission Sets section, you just add the sets you want. For a very small company this is quick and fine. But for anything larger, the recommended approach is security groups.
Here’s the flow. In the Microsoft Entra admin center, you create a group and make sure to choose Security as the group type (a Microsoft 365 group won’t work for this). Give it a clear name like “BC Access Sales” or “BC Warehouse.” Then, back in Business Central, search for Security Groups, click New, link it to the Entra group you created, and use the Permissions action to add the permission sets that role needs.
From then on it’s automatic. When you add an employee to that security group in Entra ID, they inherit the linked permissions in Business Central the moment they have a license. Remove them from the group, and the access is withdrawn. This is what makes onboarding and offboarding clean, and it’s why auditors love it permissions map to clearly defined roles instead of a tangle of individual assignments.
📌 Important change: Security groups have replaced the older user groups. User groups were only relevant inside Business Central, whereas security groups are based on Microsoft Entra ID, so they can be reused across other Dynamics 365 and Microsoft apps. Security groups replaced user groups starting in the 2023 release wave 1, and user groups were usable only up to the 2024 release wave 2. If you’re still on user groups, it’s time to move.
A Quick Word on Licenses
It’s worth repeating because it trips people up: the license type sets the ceiling. Security groups and permission sets govern what a user can do, but they don’t grant a license — that’s assigned in Entra ID or the Microsoft 365 admin center. And no permission set can lift a user above their license. A Team Member can never post, even if you assign them Super User permissions, because the license itself blocks it. Always match the license to what the role genuinely needs.
New in 2026 : The Permissions Overview Page
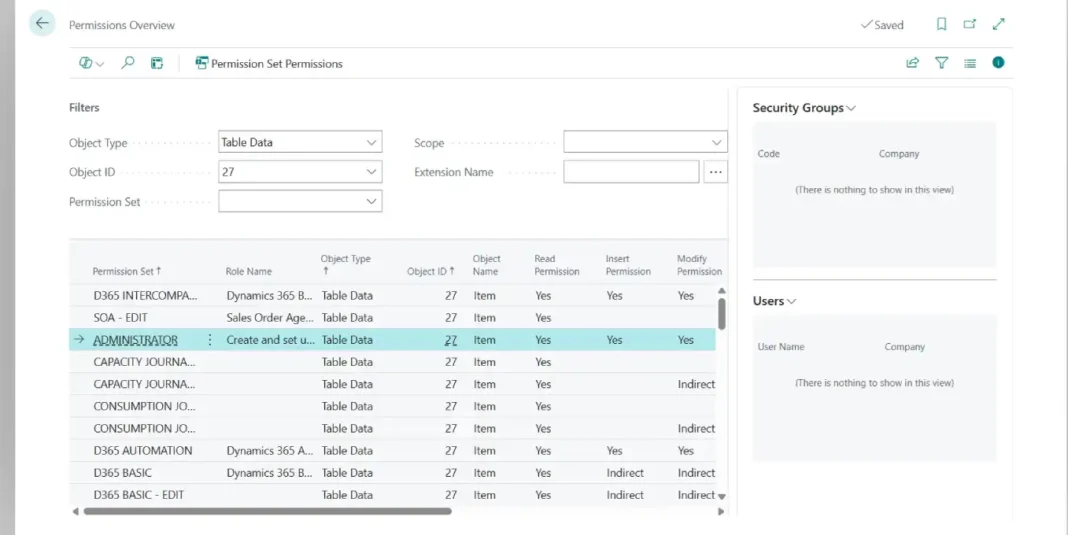
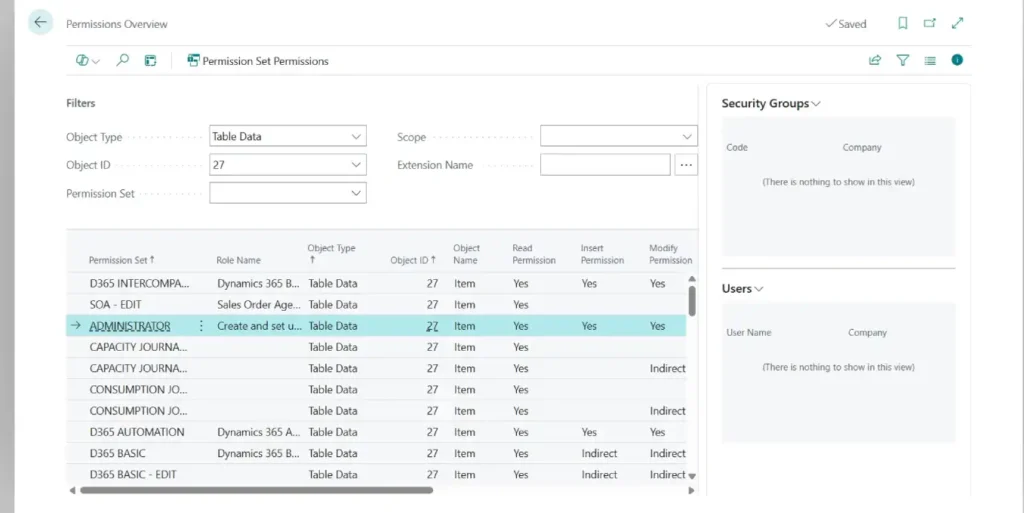
If you’re on a recent version, Business Central 2026 introduced a helpful new page called Permissions Overview. It gives you a single, centralized view of all permission sets across every installed app and extension. From there you can see which permission sets grant access to a specific object (for example, which sets allow editing customer records), and which security groups and users are linked to each permission set.
For anyone doing a security audit or troubleshooting why a user can (or can’t) access something, this page saves a lot of clicking around. If it’s available in your version, it’s the first place to look when investigating access questions.
Common Questions
What is a permission set in Business Central?
It’s a named bundle of permissions that defines what a user can read, edit, or post. Business Central includes many ready-made sets, and you can create your own user-defined ones for specific roles.
What’s the difference between user groups and security groups?
User groups were an older, Business-Central only way to bundle permissions. Security groups replace them and are based on Microsoft Entra ID, so they can be reused across other Microsoft apps. Security groups replaced user groups from the 2023 release wave 1.
Should I assign permissions to users or to groups?
For a very small company, assigning directly to a user is quick. For everyone else, use security groups they’re far easier to manage and audit as your team grows.
Why can’t my user post even though I gave them permissions?
Almost always because of their license. The license type sets a hard ceiling for example, a Team Member can never post, regardless of the permission sets assigned. Check the license in Microsoft 365.
Can I edit the built-in permission sets?
No. System and Extension permission sets (from Microsoft or installed apps) can’t be edited by end users. To customize, create your own user-defined permission set, optionally nesting the built-in ones inside it.
How do I see who has access to what?
On recent versions, use the new Permissions Overview page (2026). It shows which permission sets grant access to each object and which users and security groups are linked to each set ideal for audits.
Final Thoughts
Once you understand the three layers – license, permission set, and security group – user management in Business Central stops being intimidating. Create the user in Microsoft 365, import them, and assign access through security groups organized by role rather than person by person. Let the license set the ceiling, and use the Permissions Overview page to keep an eye on who can do what.
Set this up thoughtfully from the start and you’ll save yourself countless hours later, while keeping your data secure and your system audit-ready.
Stay tuned to NavisionPlanet for more simple, step-by-step Business Central guides drawn from real project experience.
Note: Licensing rules and permission features change between releases. For decisions affecting security or compliance, confirm current details on Microsoft Learn or with your Business Central partner.
Related guides on Navision Planet:
- Number Series Setup in Business Central
- General Ledger Setup in Business Central
- Email Account Setup in Business Central
- Business Central Keyboard Shortcuts