
Table of Contents
Company Creation in Microsoft D365 Business Central
Creating a new company in Microsoft Dynamics 365 Business Central is like starting with a fresh book where you can enter all your business data. It helps you set up a new business environment without mixing it with your old data.
Have you ever wanted to create a new company in Business Central but didn’t know where to start? Don’t worry, I’ve been there too. When I first tried, I thought it would be a long, technical process. But honestly, it’s much easier than it sounds. Once you know the steps, you can set up a new company in just a few minutes.
Let me walk you through the process in simple words.
Step 1: Go to Companies Page
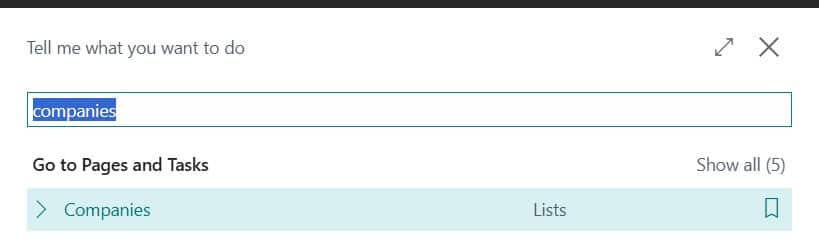
First, log in to Business Central. At the top, you’ll see the search bar.
Tip: You may try Business Central Keyboard shortcuts for faster navigation.
Type “Companies” and click on it. This will show you all the companies already created in your system.

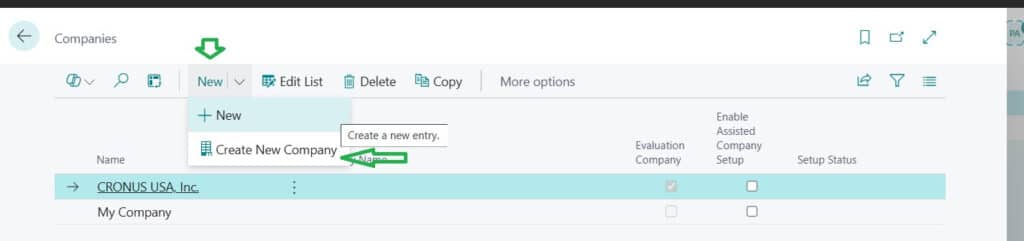
Step 2: Create a New Company
On the Companies page, click + New / Create New Company.
Where “Create New Company” is the easy option with Wizard page to setup company.

Now give your company a name – it can be your business name or even a test name like “Navision Planet Company.” Please follow the steps like we mentioned in the image.

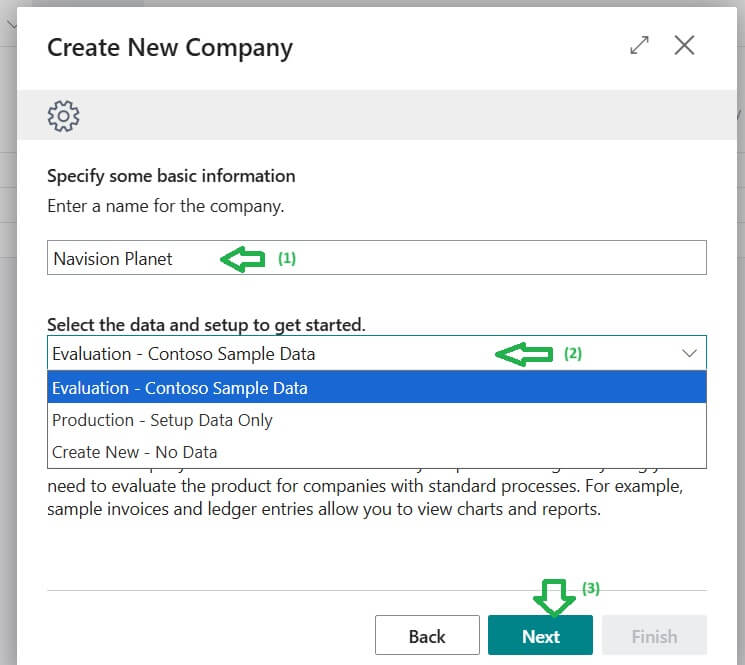
Click on Next and continue the instruction in the page. Easy, right?
Step 3: Choose Company Type
Here, you’ll get three options like we mentioned on last image:
- Create New -> A fresh start with no data (best for real business use).
- Evaluation – Sample Data -> Comes with demo data, perfect if you just want to learn or explore.
- Production – Setup Data -> Pre configured setup, ready to start working quickly.
Pick the one that suits your situation.
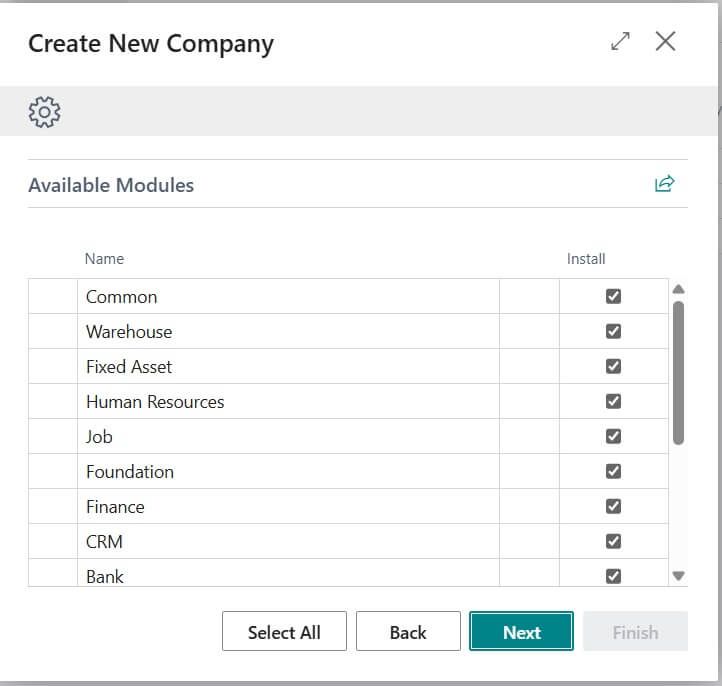
After that step if you have selected Evaluation option then will get Available Modules to select. Choose the right one to proceed further.

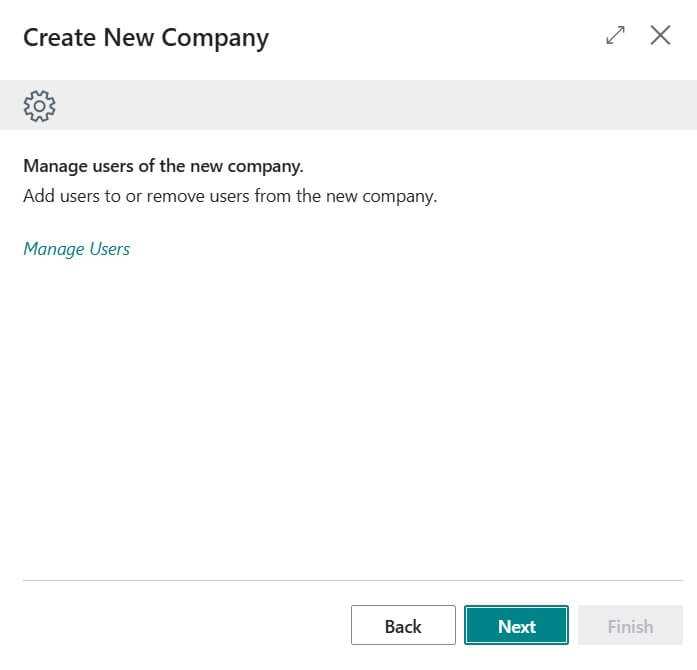
As we choose Evaluation option again system will ask for manage Users. if there is no change then Click on “Next” to proceed further.


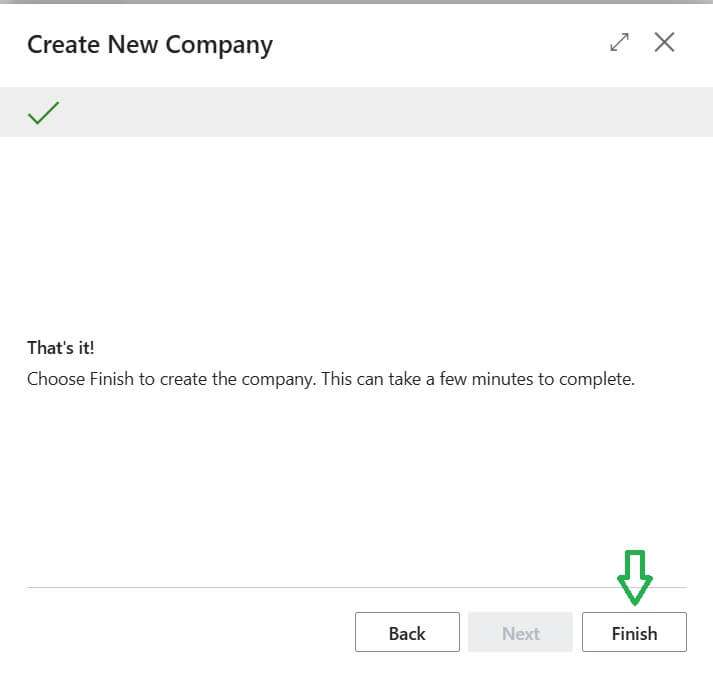

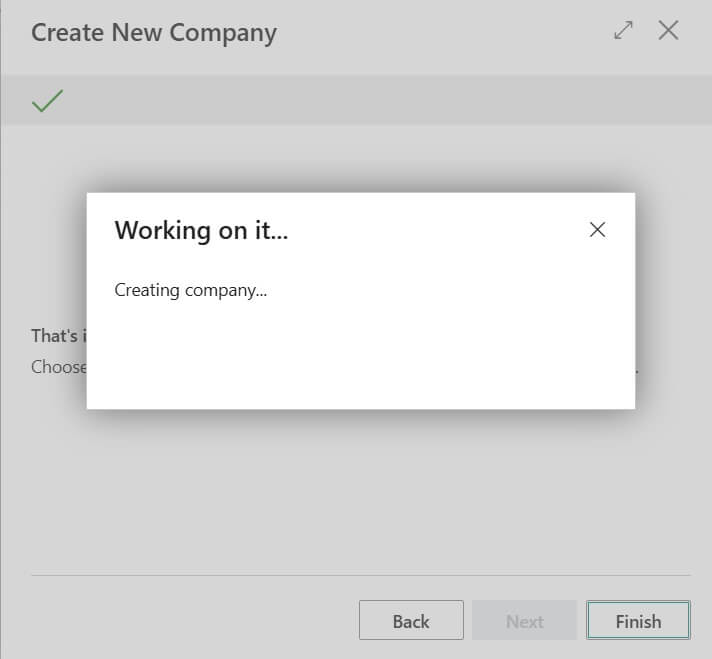
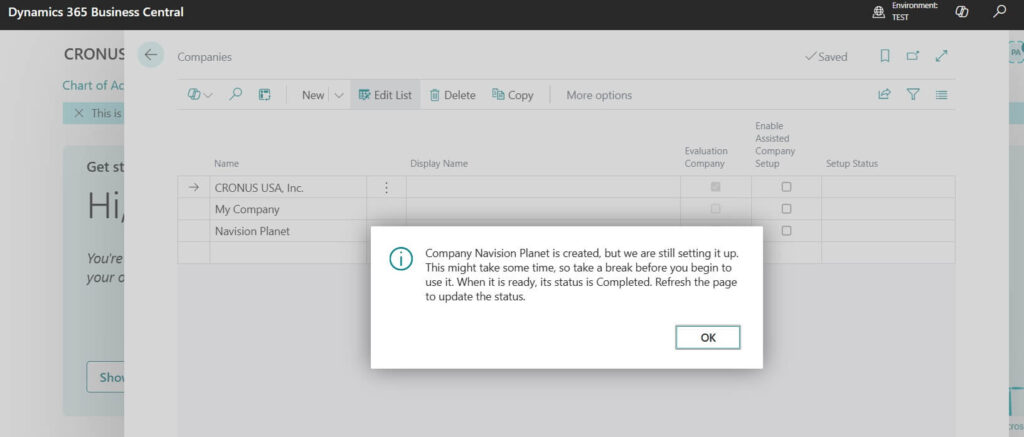
During installation process it will show message like above screen and once its finished will show the message like following

Step 4: Run the Setup Wizard
After creating, Business Central will open the Assisted Setup Wizard.
This wizard is super helpful – it guides you step by step to fill in company details like:
- Company name, address, and contact info
- Currencies
- Number series
- Posting setups
Sample Confirmation Message:
Company Navision Planet is created, but we are still setting it up.
This might take some time, so take a break before you begin to use it. When it is ready, its status is Completed. Refresh the page to update the status.
Think of it like answering a few questions to get your company up and running.
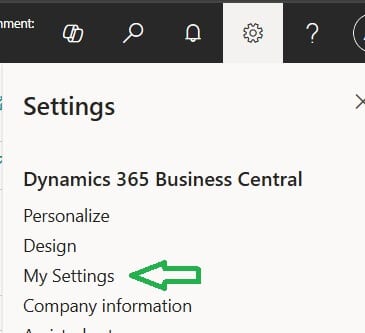
Step 5: Start Using Your Company
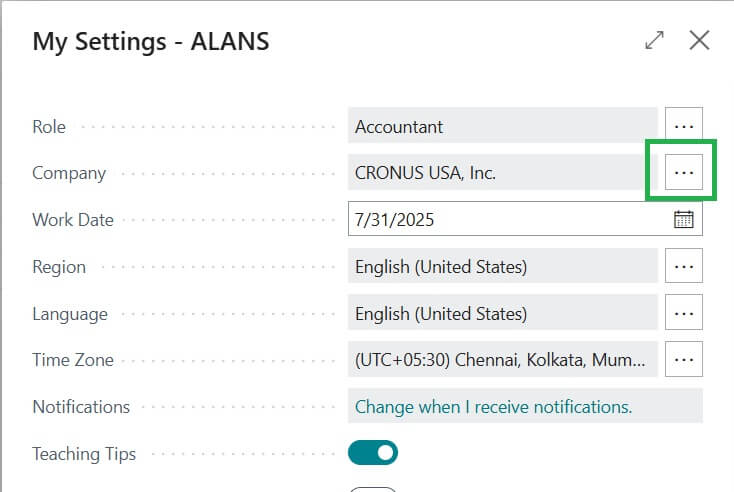
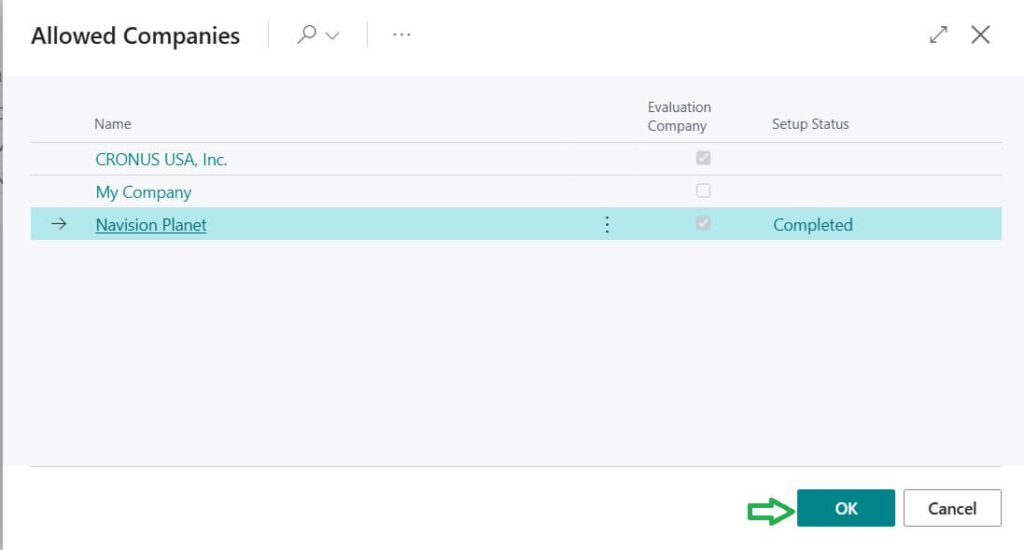
Once the setup is done, go to My Settings and switch to your new company.


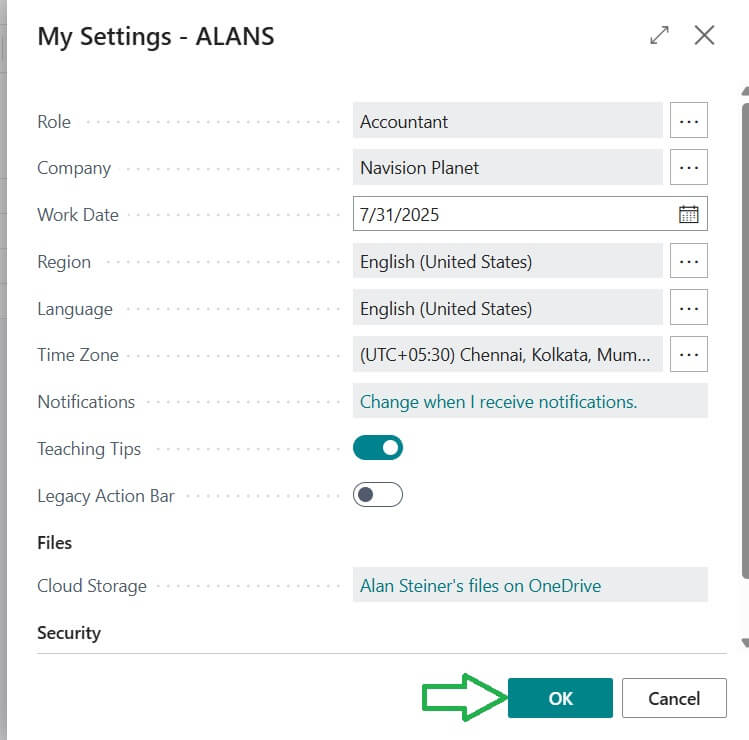
That’s it! Now you can start adding customers, vendors, items, and creating transactions inside your fresh company.

Tip: If you’re just practicing, use the Evaluation Company option first. Once you’re confident, then go for a real company setup. This way you won’t mess up your actual business data.
FAQs on Creating a Company in Business Central
Following are the Frequently Asked Questions ( FAQ ) related to Company Creation in Business Central.
Yes. Only users with admin or permission roles can create new companies.
Absolutely! You can create as many as you want – perfect for handling different branches or testing setups.
Evaluation comes with sample data (great for learning). Production is clean and meant for real business use.
Yes, but only if you’re an admin. Be careful – deleting removes all data in that company.
100% yes! Always try things in a Sandbox first, especially if you’re new.
Creating a company in Business Central is not rocket science. Once you know the steps, it’s just a matter of a few clicks. Whether you’re testing, learning, or setting up a real business, Business Central makes it super easy to get started.


 + Free Mock Exam")