Table of Contents
How to Setup Business Central Development Environment?
visit Visual Studio Code Development Settings page to do latest setup
Hope you have installed the Business Central via Docker. If not then recommended you to read Dynamics 365 Business Central Install using Docker post.
In this post I would like to share the following details related to Visual Studio Code setup to start the development for Business Central with AL coding.
- Install Visual Studio Code
- Download Certificate and Install
- Install AL Extension
- Install VSIX Setup
- launch.json Settings
- Download Symbols
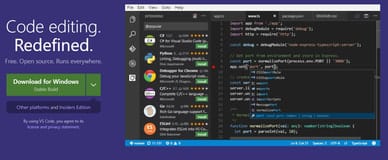
Step 1 : Install Visual Studio Code
Visual Studio Code is the open source coding editor from Microsoft. By the help of this software we can start coding for any language by the help of extensions. This software will work on Operating systems like Windows, Linux and Mac OS. It support features like syntax highlighting, intelligent code completion, snippets, code refactoring and Git hub connection etc.

You can download the Visual studio code from Microsoft Visual Studio Code Free Download
Step 2 : Download Certificate and Install
After installing the Visual studio code and download the Certificate from the path specified on docker run command result like follows.
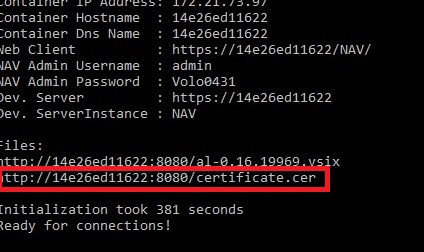
Copy the path specified on your docker run command and paste it on a browser to download the same. Check the same file on download folder with extension “.cer“.
Congrats now you are having self signed certificate to install
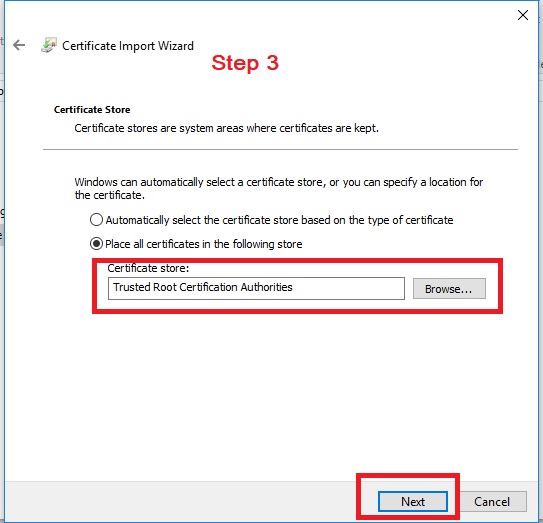
Install Certificate
Now we will see how to install this certificate using following following steps and Images
- Step 1 : Locate the file and right click. Click on Install Certificate option
- Step 2 : Select Local Machine option and click on Next button
- Step 3 : Choose Trusted Certificate and press Next to Import the same.
- Step 4 : Well done Certificate Installation completed

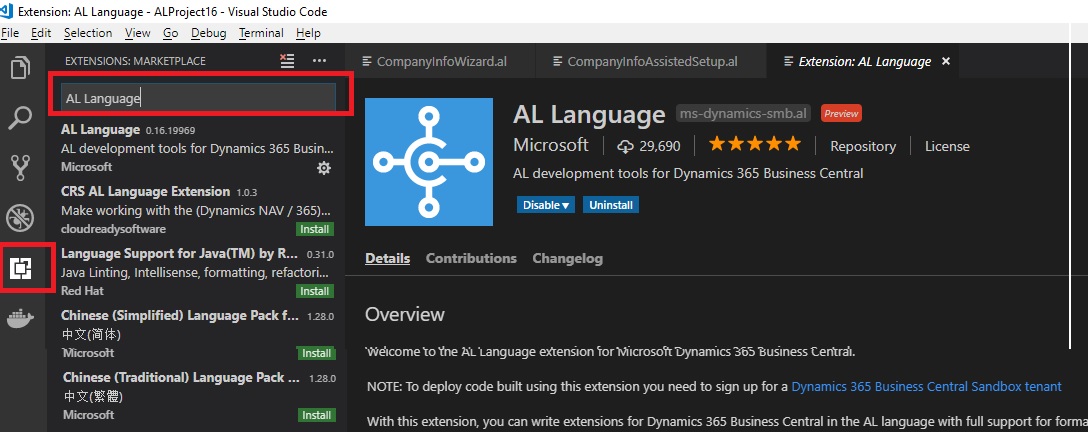
Step 3 : Install AL Extension
So the next steps is to install the AL Extension on Visual Studio Code interface. For doing the same follows below steps
- Open Visual Studio Code
- Click on Extensions or press (Ctrl + Shift + X)
- After that search for “AL Language”
- Press Install button to install the same
Step 4 : Install VSIX Extension
VSIX Installations steps explained as follows
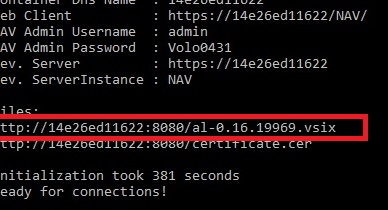
- Download the VSIX file from docker run command result
- Open Visual Studio Code
- Open command Palette (view -> Command Palatte or Ctrl + Shift + P)
- Enter command as “Extension:Install from VSIX“
- Select the VSIX file downloaded via first step of this activity
- Press “Install” to complete the same
Congrats you have now successfully complete VSIX file install. Lets continue with next step
Step 5 : launch.json Settings
Now you have to update the connection settings details on Visual studio code to connect both Business Central and Visual studio code together. For that please follow below steps
- Copy the Docker run command result with “Dev. Server : ” value
- Open Visual Studio Code
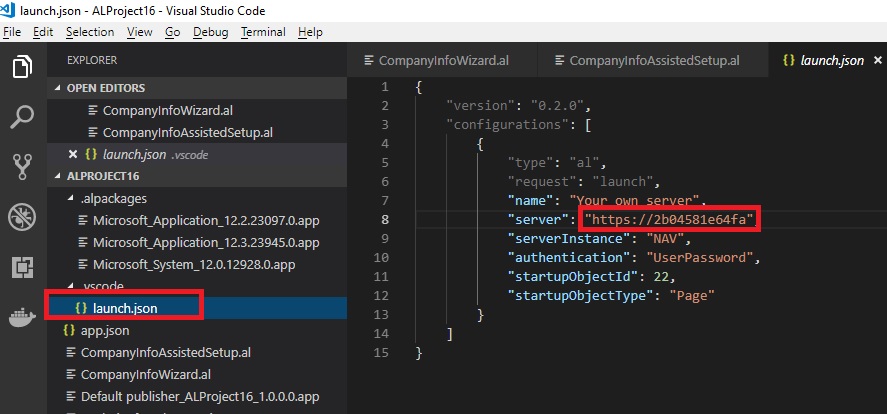
- Locate “launch.json” file
- Update the “Server” parameter settings
- replace the existing path with new path and save
Congrats now to you have completed the launch.json file setup. Let us continue with last step in this series
Step 6 : Download Symbols
Download symbols steps required to download the object reference details to compile the objects you are going to develop. Following are the steps to complete the same
- Open Visual Studio Code
- Open command Palette (view -> Command Palatte or Ctrl + Shift + P)
- Enter “AL:Download Symbols” to download the symbols
- When system asked for credentials , Enter the User ID = Admin and Password: (this is the password available on Docker run command result, please copy the same and paste it here”
- After successfully verified the authorization system will download the symbols.

After successfully Downloaded Symbols can able to confirm Alpackages mentioned on the above image.
Congrats now you are ready to start the extension development for Business Central. Cheers !!
