Vendor Posting Group In Navision
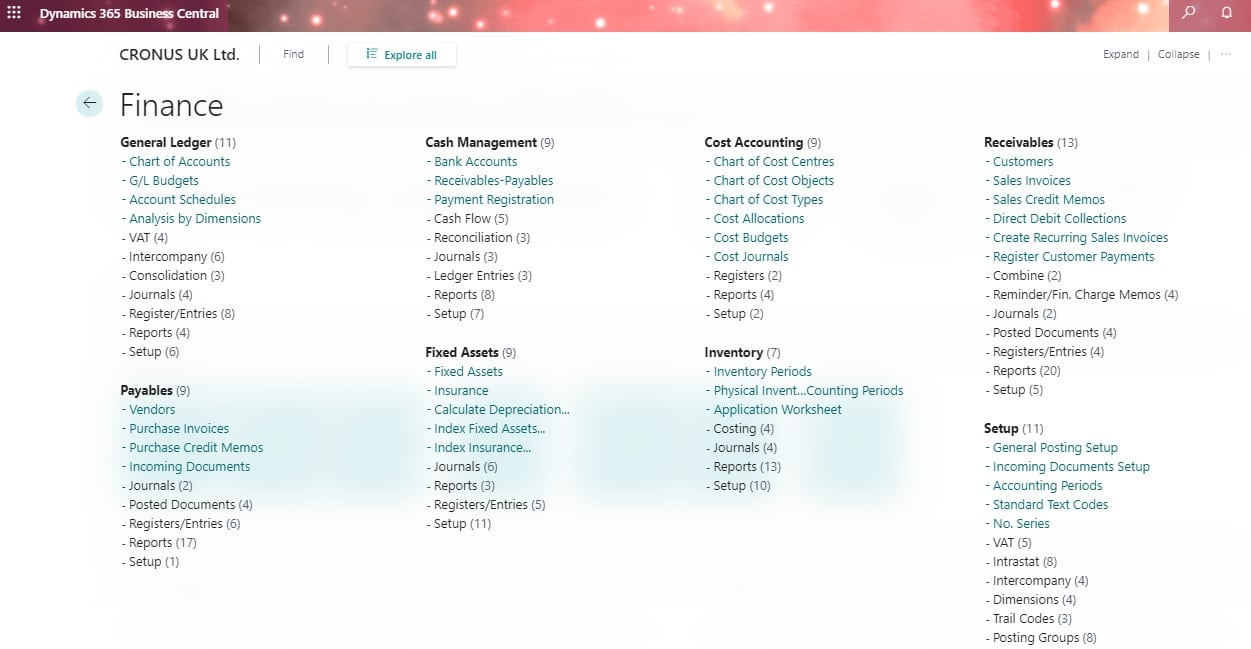
- FINANCIAL MANAGEMENT –> SETUP –> POSTING GROUPS –> VENDOR
- Fields in Vendor Posting Group
- Payable Account–> Payables due to vendors.
- Payable Account (Interim)
- Service Chage Acc.–> Service charges due to vendors.
- Payment Disc. Debit Acc.–> Reductions in payment discounts received from vendors.
- Payment Disc. Credit Acc.–> Payment discounts received from vendors.
- Debit Curr. Appln. Rndg. Acc.–> Rounding differences that occurs when applying entries in different currencies.
- Credit Curr. Appln. Rndg. Acc.–> Rounding differences that occurs when applying entries in different currencies.
- Debit Rounding Account–> Rounding diffrences from remaining amount.–> Remaining Amount is the amount remains to be applied and is shown in the original currency.
- Payment Tolerance Debit acc.–> Purchase tolerance–> Must use together with Business Posting Group
- Payment Tolereance Credit Acc.–> Purchase tolerance–> Must use together with Business Posting Group
- Interest Account–> Interest transaction
To Assign the Vendor Posting Group to Vendor:
- Open the Vendor Card (FINANCIAL MANAGEMENT –> PAYABLES –> VENDORS)and browse to the vendor on which you want to assign the Vendor Posting Group.
- Click on Invoicing tab.
- Select a Vendor Posting Group.
Trademarks & Screenshots: Microsoft, Dynamics 365, Business Central, Dynamics NAV, and related names are trademarks of Microsoft Corporation. LS Central and LS Retail are products of LS Retail. Screenshots are used for educational and illustrative purposes only. Navision Planet is an independent resource and is not affiliated with, endorsed by, or sponsored by Microsoft or LS Retail. All product names, logos, and brands are the property of their respective owners.